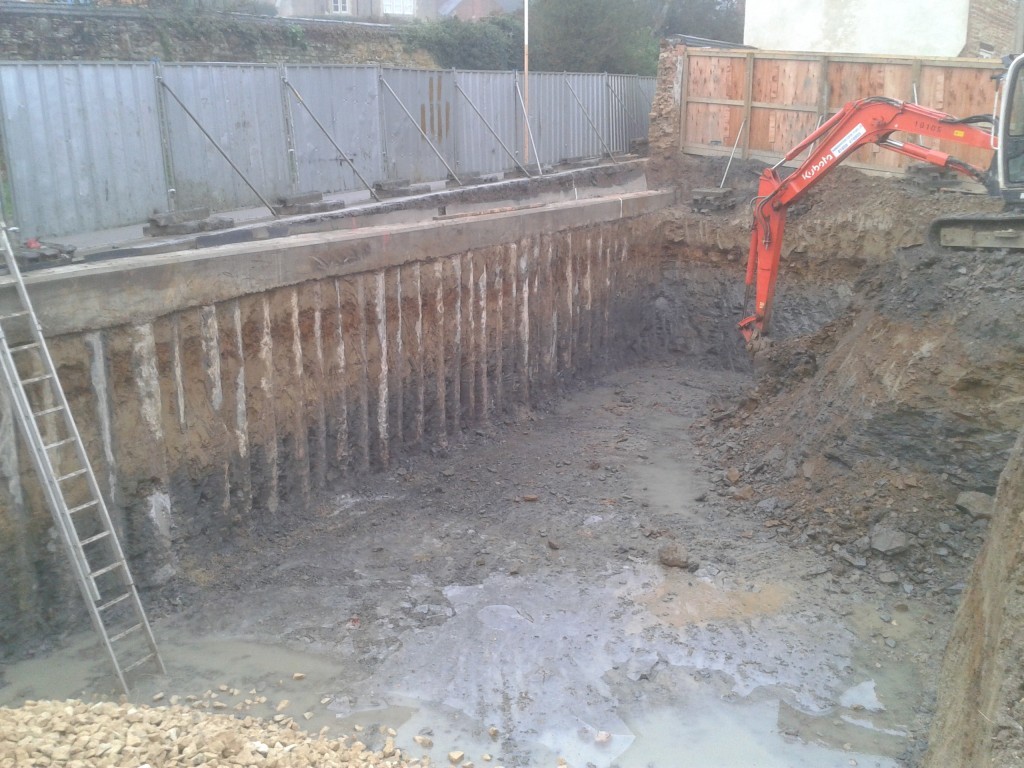
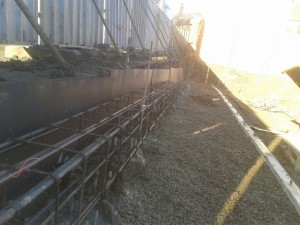
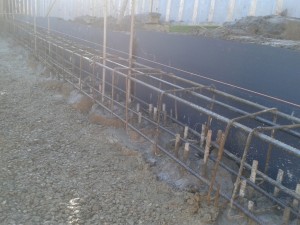
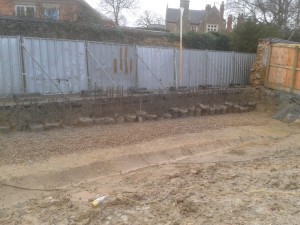
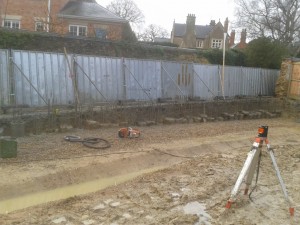
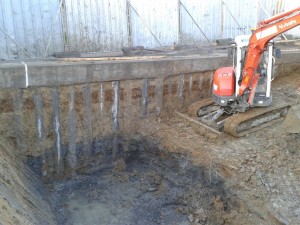
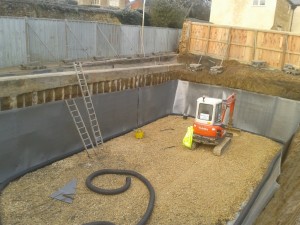
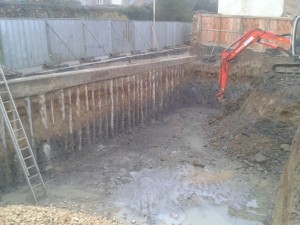
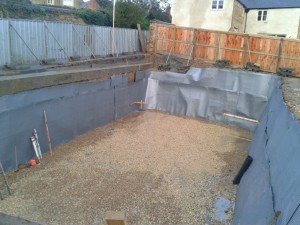
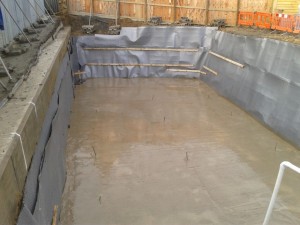
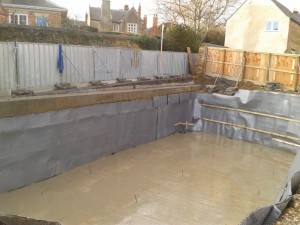
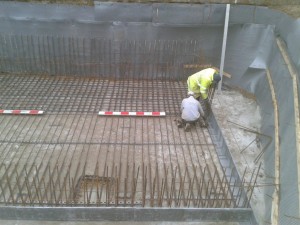
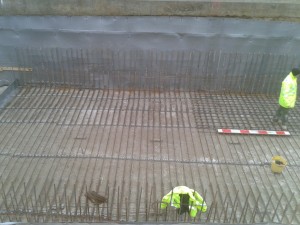
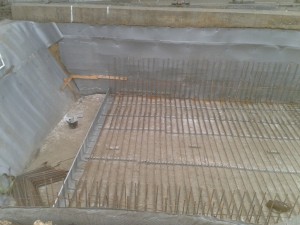
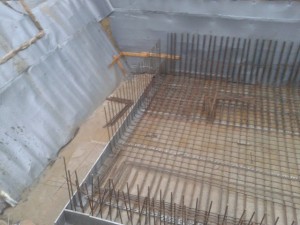
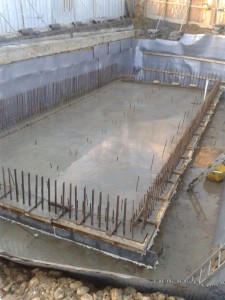
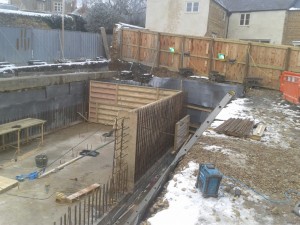
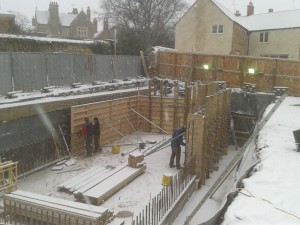
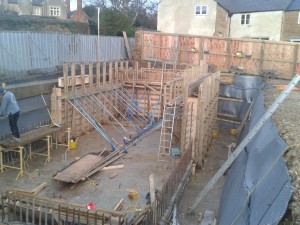
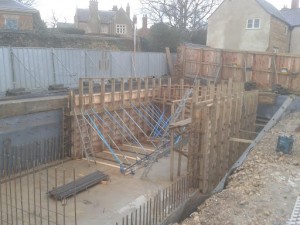
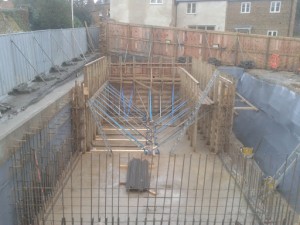
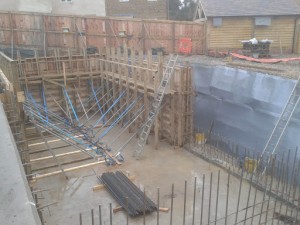
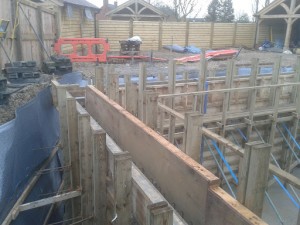
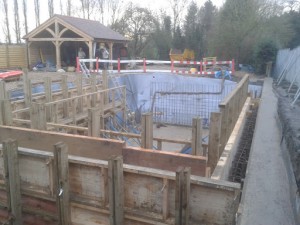
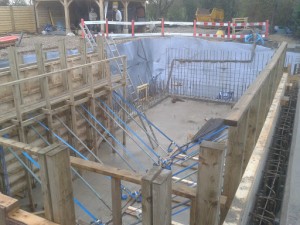
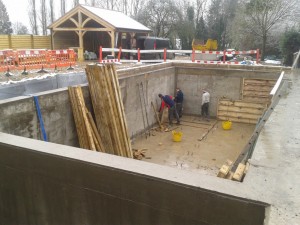
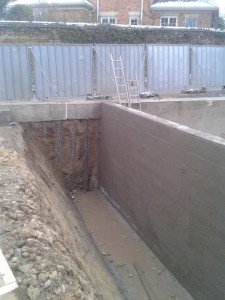
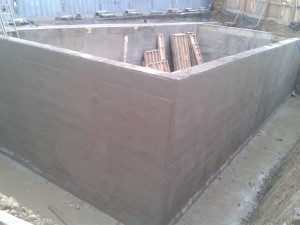
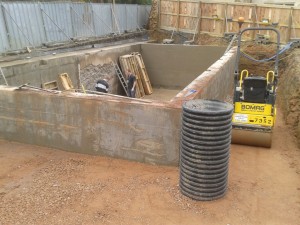
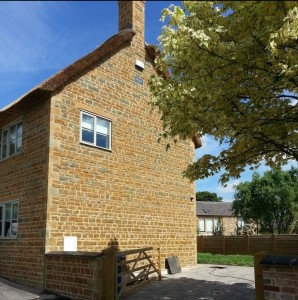
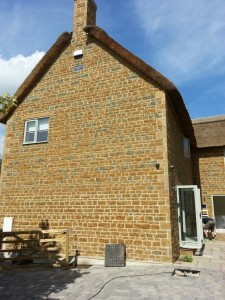
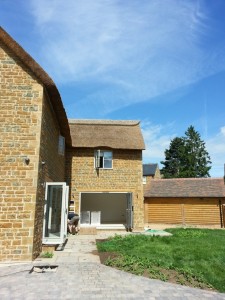
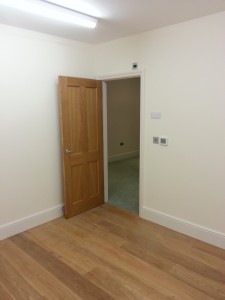
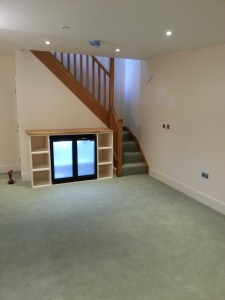
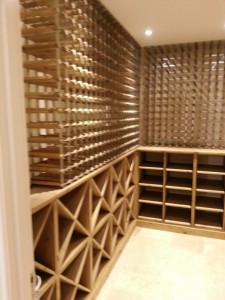
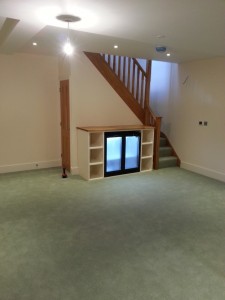
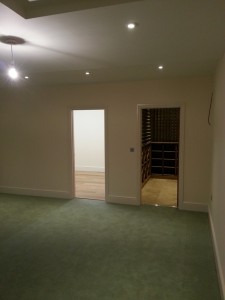
A new build basement created next to a busy road junction in a rural Northamptonshire village. To prevent the road and junction collapsing into the basement excavation, contiguous piles were drilled, cast in concrete, and linked together with a pile cap beam.
Project Overview
| Categories: | |
| Client: | Langton Homes Ltd |
| Location: | Ashley, Northamptonshire |
| Surface Area: | 90 Square Metres |
| Completed: | 2013 |
| Architect: | BRP Architects |
| Link: | Visit project |
Stage One - Contiguous Piles & Excavation
To ensure the road and junction would not collapse into the basement during construction the side of the side adjacent to the road was supported using contiguous piles. 300mm holes were drilled to 10m deep, filled with steel reinforcing and concrete. All these individual columns of concrete were set right next to the previous, creating a continuous barrier of concrete columns.
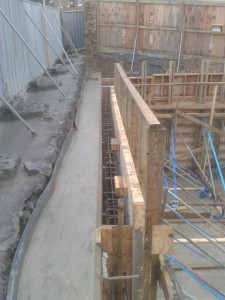
The tops of each pile was cleared away and linked with all of the others with steel reinforcing and concreted together. This pile cap beam supported the top whilst the undisturbed ground below the excavation would support the bottom of the columns.
The excavation could then begin, extending all the way to the face of the contiguous piles. Once complete a perforated drain was laid around the perimeter and linked to a sump to allow the site to be constantly de-watered. A thin layer of concrete was then laid to give the site a dry and clean base on which to build the basement.
Stage Two - Basement Construction
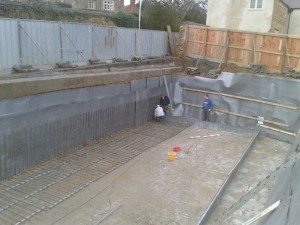
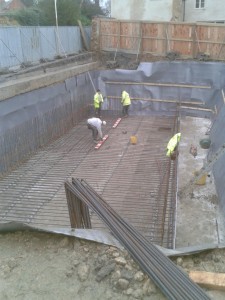
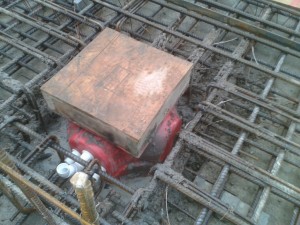
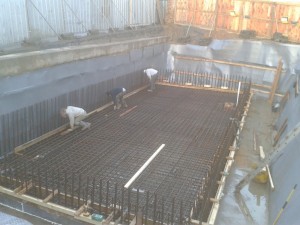
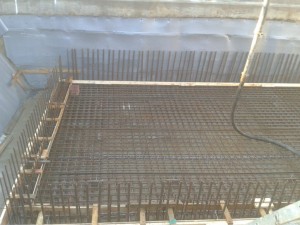
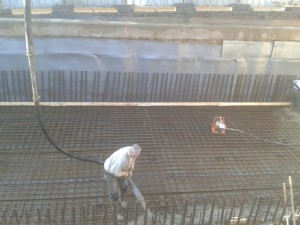
With the excavation completed, matted, drained, and made safe for the team, the work began on the base slab. The perimeter was set out with preformed aluminium shutters set to the correct height of the slab. A sump was installed for the internal waterproofing and steel reinforcing laid.
The steel had two layers sticking up through the floor to link the walls and floor together. Finally, a small upstand was created, known as a kicker, to give a better waterproofing solution. The kicker is the bottom 150mm of the walls but is cast at the same time as the floor.
Once the slab had been cast in concrete and all shuttering removed, the walls were constructed. The external face of the shuttering was erected and supported, and steel reinforcing installed within the walls, connected to the bars coming through from the base. The internal shutters are then erected and supported fully to bear the weight of the concrete.
The walls are cast in two halves to the first pour includes two ends that split the concrete pour. On the side with the contiguous piles, the pile cap beam set the level for the walls to be concreted up to.
Stage Three - Waterproofing
This basement has two independent waterproofing systems
Type A – Barrier Protection
A cementitious slurry was applied to all external faces and linked with the perimeter drain and sump that was installed as part of stage 1.
Waterproofing materials supplied by Koster UK
Type C – Cavity Drained Protection
A cavity drainage membrane (CDM) was installed internally to all external walls and the floor and linked to the ground water sump. Within the sump, two pumps and a high-water alarm were installed.
Waterproofing materials supplied by Triton Systems
Similar Projects
New build basement with sheet piles
New build basement on constrained site
New build basement with waterproof concrete
